Service hotline
+86 0755-23615795

Release date:2025-07-22Author source:KinghelmViews:62
In today’s world where smart devices are everywhere, Bluetooth technology is widely used in headphones, speakers, smart home products, and more thanks to its convenience. However, some devices suffer from limited performance of built-in antennas, leading to unstable signals and short transmission distances. Replacing the built-in Bluetooth antenna with an external antenna is an effective way to improve Bluetooth signal quality. This article will explain the modification principles, required tools, detailed steps, and important precautions, helping you successfully complete the upgrade and enhance your device’s Bluetooth performance.

Bluetooth devices operate in the 2.4GHz frequency band. Built-in antennas are typically PCB antennas or ceramic antennas, formed by etching metal traces on the circuit board or using ceramic materials to send and receive signals. External antennas, on the other hand, are separate components like whip antennas or helical (spring) antennas. Their advantages include improved signal coverage and better anti-interference capability by adjusting the antenna’s position, direction, and gain.
The core of this modification is to reroute the signal transmission path from the built-in antenna to the external antenna, while ensuring impedance matching to avoid signal reflection and loss. Without proper impedance matching, signal efficiency can drop significantly, even causing unstable connections.
Tools:
lSoldering iron
lHot air gun (for desoldering components)
lMultimeter (for measuring impedance and circuit continuity)
lTweezers
lWire cutters
Materials:
lCompatible external Bluetooth antenna (recommended gain: 2–5dBi, omnidirectional, 2.4GHz)
lRF coaxial cable (e.g., RG178 or RG316, with suitable connectors for both the antenna and PCB)
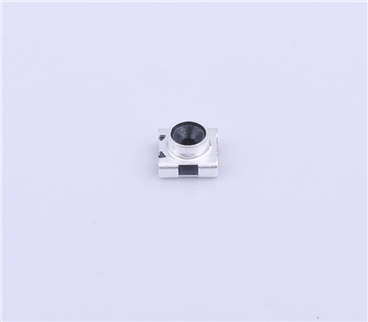
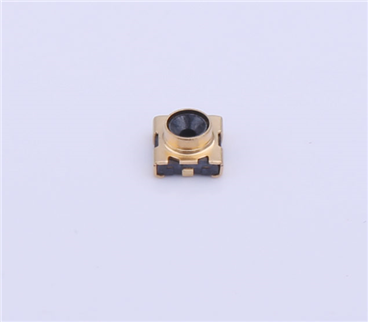
lSMA or IPEX connectors (depending on device type)
lSolder wire
lFlux
1. Disassemble the device: Carefully remove the device casing with a screwdriver. Note the position of screws and ribbon cables to avoid damaging internal parts.
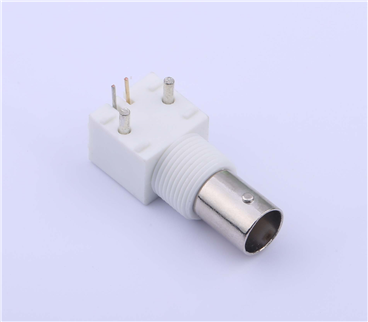
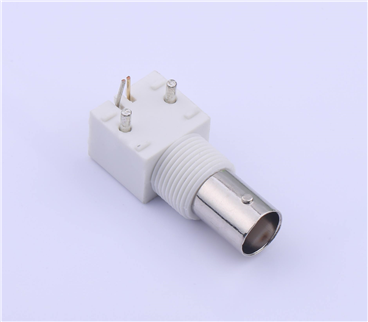
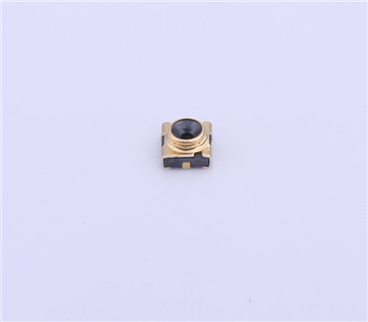
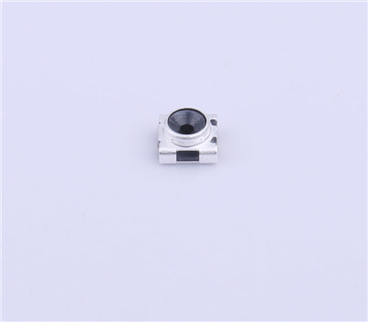
2. Locate the antenna: Find the built-in antenna on the PCB. PCB antennas usually have meandering or patch shapes, while ceramic antennas look like small blocks. Identify the antenna feed point (often labeled “ANT”) and the ground, typically connected to large copper areas.
1. Heat the pads: Use a soldering iron or hot air gun to heat the solder joints until the solder melts, then carefully remove the antenna with tweezers. If using a hot air gun, keep the temperature around 300–350°C to avoid damaging the board.
2. Clean the pads: Use a solder wick or desoldering pump to clean leftover solder, making sure the pads are flat and clean for the next step.
1. Install the connector: Solder the SMA or IPEX connector to the feed point and ground. Apply a small amount of flux first, then solder the connector pins securely to avoid cold solder joints or shorts.
2. Attach the coaxial cable: Connect one end of the coaxial cable to the PCB connector and the other end to the external antenna. Check that the connection is stable to prevent signal loss.
1. Initial test: After assembly, turn on the Bluetooth function and pair with other devices. Check for improved stability and longer range.
2. Signal check: Use a Bluetooth signal strength app to measure signal levels in different locations. If results are unsatisfactory, check connections and try adjusting antenna placement.
3. Impedance tuning: If you experience instability or weak signals, it could be due to impedance mismatch. Use a multimeter to check that the antenna port impedance is near 50Ω. If not, add a π-type or T-type matching network to correct it.
1. Static protection: Wear an anti-static wrist strap to protect sensitive components.
2. Component care: Avoid pulling on the board or components during soldering to prevent breakage.
3. Regulatory compliance: After modification, ensure your device still complies with local radio regulations. High antenna gain or incorrect frequency bands could violate regulations.
4. Warranty: Modifying the device might void its warranty. Consider this carefully before proceeding.
For example, in a smart speaker with a built-in PCB antenna, signal was unstable in complex environments. By following the steps above, the built-in PCB antenna was removed, and an IPEX connector was soldered on to connect a 3dBi external helical antenna. After the upgrade, the speaker could maintain stable connection even 10 meters away through a wall. Signal strength increased by about 15dBm, and audio lag was significantly reduced.
Replacing a built-in Bluetooth antenna with an external antenna can effectively improve signal performance. By understanding the principle, preparing the right tools and materials, and following the steps carefully, even beginners in electronics can successfully complete the upgrade.
Copyright © Shenzhen Kinghelm Electronics Co., Ltd. all rights reservedYue ICP Bei No. 17113853